

DIY Ring Display Organizer
I think I have a slight addiction to rings. I love rings but hate the rummaging.
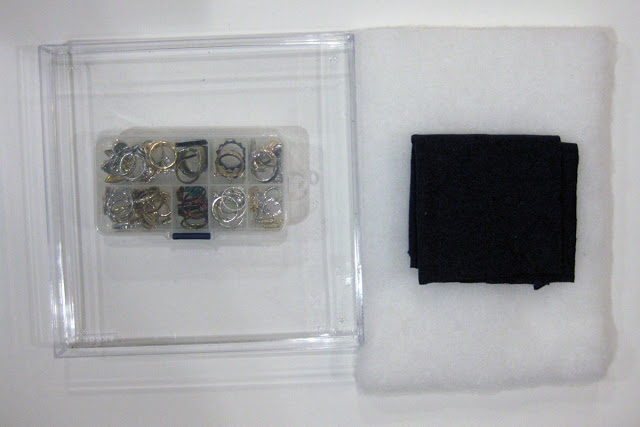
What I’ve been using as storage:
 *Cue shudder, I know… |
I got a few new rings today and got supremely annoyed at myself, so I made this pretty lil thang:

There have been many tutorials for these awesome ring organizers floating around the web, so I’ve tried to simplify my steps as much as possible 🙂
Ring Display/Organizer aka Something to Hold Your Bling
(and stop it from clumping into a perpetual mess)
(Difficulty: Easy)
Supplies
(1) A bunch of rings
(2) A box or box lid (I used half of a Ferrero Rocher container..yum)
(3) Cotton or foam cushion padding
(4) Scrap fabric, at least twice as long as your padding
(5) Scissors
(6) Glue (any kind is fine, I used white glue)
(7) Ruler
(3) Cotton or foam cushion padding
(4) Scrap fabric, at least twice as long as your padding
(5) Scissors
(6) Glue (any kind is fine, I used white glue)
(7) Ruler
Steps
1. Cut your padding to the size of the box and divide it into 1″ strips with a pencil and ruler. Cut out your strips.

2. Lay your fabric out. Squeeze some glue on the bottom and side of the strip and turn it to attach that side to the fabric.
3. Turning it back to the flat position, you should see a folded portion of fabric begin to naturally form next to the strip.

4. Continue gluing strips to the fabric, with the fabric folds in between each strip. You should have something like this:

5. Let dry. Turn your strips over to the fabric side and place in your box. Fill with rings!
My padding was a little too short for my box, but it all worked out because I needed an empty area for mybigger/oddly shaped rings anyway. I also used this to store some of my stud earrings as well 🙂

Let me know if you have any questions or if anything was unclear 🙂
Big Thanks to Cafe Craftea For this Great DIY Tutorial.